模型贴地移动
Animation 类的方法 - updatePosition
方法介绍
UniCore 内置 Animation 类,提供 updatePosition 方法用于获取两个坐标之间的贴地 / 贴最上层模型的实时坐标,并可根据该实时坐标更新模型位置,实现模型动画。
该方法需传入开始坐标和终止坐标,及获得实时坐标后的处理函数。
其他可选变量的JSDoc形式如下:
js
/**
 * 获取两个坐标间贴地/模型的实时坐标
 * @param {*} axisList 坐标路径数组
 * @param {*} realTimeCallback 获得实时坐标后的处理函数
 * @param {*} finishCallback 完成所有动画后的处理函数
 * @param {*} speed 速度参数(越小越快)
 * @param {*} stepTime 步长(越小越流畅,也越慢)
 * @param {*} exclude 不采样高度的基本体,实体或3D Tiles功能列表
 */
不妨通过代码示例在 Vue 中尝试一下(相关模型文件在本章 阅前提醒 中的内网Git链接中可获取):
在线演示
点击 在线链接 以查看在线演示。
代码示例
vue
<template>
  <div id="unicoreContainer"></div>
</template>

<script>
import { UniCore } from 'unicore-sdk'
import { config } from 'unicore-sdk/unicore.config'
import 'unicore-sdk/Widgets/widgets.css'

export default {
  // 生命周期 - 挂载完成(可以访问DOM元素)
  mounted () {
    this.init();
  },

  // 方法集合
  methods: {

    /**
    * 通用图形引擎初始化
    */
    init () {

      // 初始化UniCore

      // 目前采用Cesium的地形&底图数据,这里配置Cesium的token
      let accessToken = "eyJhbGciOiJIUzI1NiIsInR5cCI6IkpXVCJ9.eyJqdGkiOiIxNjEwMzI4My01MjBmLTQzYzktOGZiMS0wMDRhZjE0N2IyMGIiLCJpZCI6MTc1NzkyLCJpYXQiOjE3MTM3NzQ3OTh9.zU-R4MNvHr8rvn1v28PQfDImyutnpPF2lmEgGeSPckQ";
      // 初始化unicore
      let uniCore = new UniCore(config, accessToken);
      uniCore.init("unicoreContainer");
      window.uniCore = uniCore;

      // // 视角初始化
      uniCore.position.buildingPosition(uniCore.viewer, [113.12380548015745, 28.250758831850005, 700], -20, -45, 1);

      // 示例底面模型
      let options = {
        id: '城市白膜',
        url: '../../../assets/3Dtiles/sample3_方法2_小别墅属性(1)/tileset.json'
      }
      //加载3dtiles
      uniCore.model.createTileset(options.url, options).then(entity => {
        uniCore.model.changeModelPos(entity, [113.12098820449636, 28.256150218457687, 35])
      })

      // 使该模型运动
      uniCore.model.addGltf({
        lon: 0,
        lat: 0,
        height: 0
      }, {
        id: "车",
        name: null,
        url: '../../../assets/gltf/CesiumMilkTruck.glb',
        property: null
      }).then(carModel => {
        let axis = [[113.12022464274082, 28.25619028746274], [113.12161934465712, 28.256137318482835], [113.12091905012934, 28.256699622636106], [113.1209893840498, 28.25591814354084]];
        uniCore.animation.updatePosition(axis, (resAxis, index) => {
          // 根据实时坐标修改路径和偏转角
          uniCore.model.changeModelPos(carModel, resAxis, [uniCore.animation.caluRealTimeRotate(axis, index), 0, 0]);
        }, () => { console.log("finish!") }, 5, 0.01, [carModel])
      })


    }
  }

}
</script>
<style scoped>
#unicoreContainer {
  position: absolute;
  top: 0;
  left: 0;
  width: 100%;
  height: 100%;
  overflow: hidden;
  background: black;
}
</style>
示例运行结果
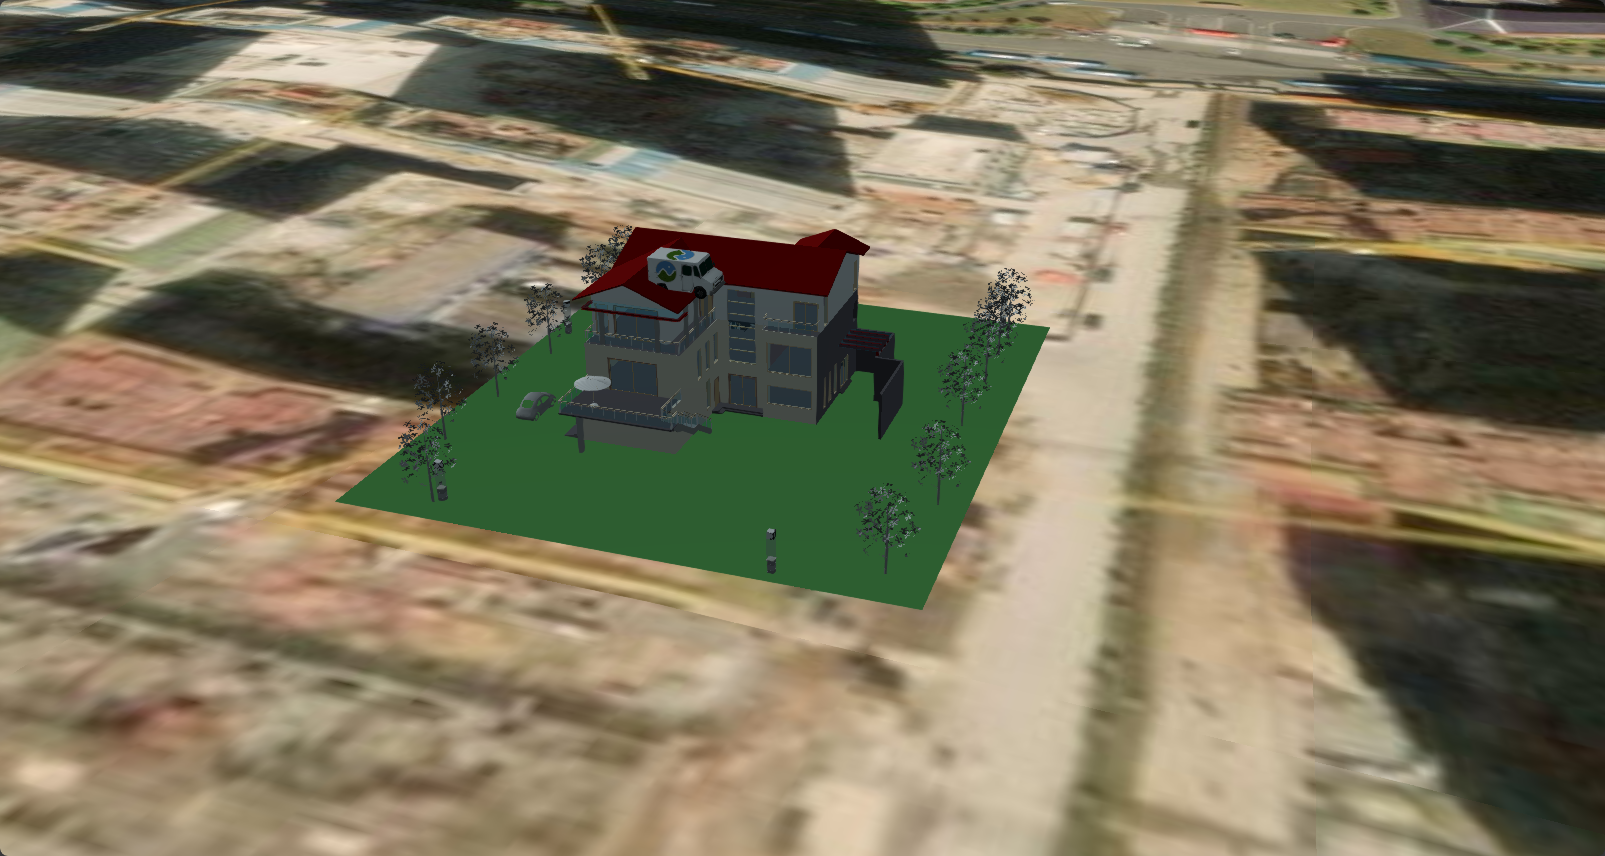
小车运行中(贴模型):
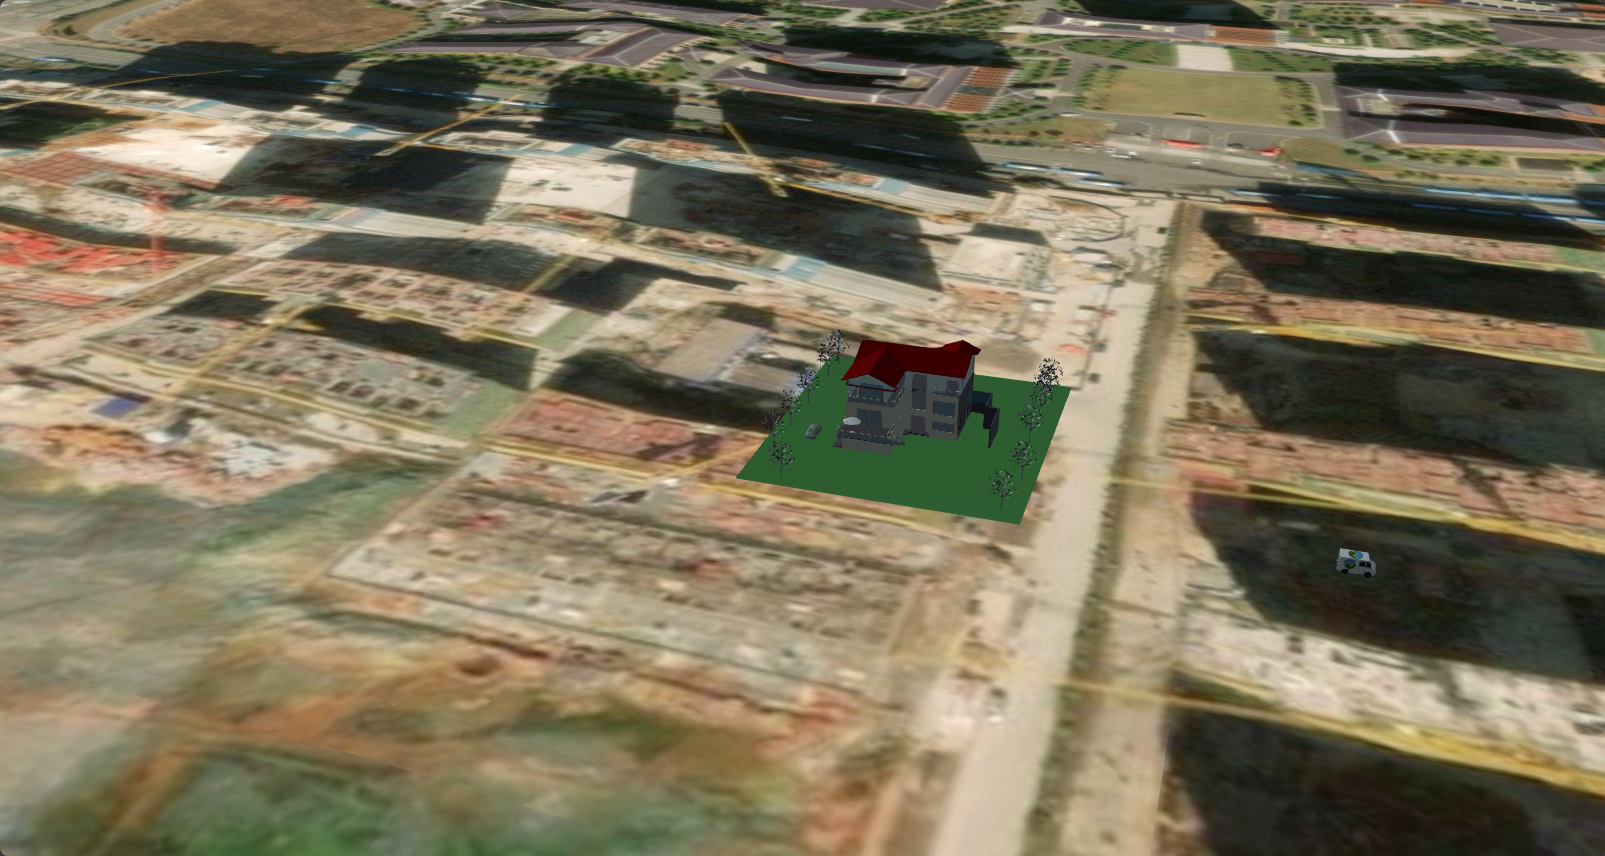
小车运行中(贴地):
小车运行中:(自动旋转方位角):

关键代码
你可以通过修改 updatePosition 中的变量查看修改这些变量带来的效果。
注:updatePosition的第一个回调函数中,resAxis表示当前计算的实时经纬高程,index表示当前在运行第几段路程
js
let axis = [[113.12022464274082, 28.25619028746274], [113.12161934465712, 28.256137318482835], [113.12091905012934, 28.256699622636106], [113.1209893840498, 28.25591814354084]];
uniCore.animation.updatePosition(axis, (resAxis, index) => {
  // 根据实时坐标修改路径和偏转角
  uniCore.model.changeModelPos(carModel, resAxis, [uniCore.animation.caluRealTimeRotate(axis, index), 0, 0]);
}, () => { console.log("finish!") }, 5, 0.01, [carModel])
拓展
本方法使用回调函数的方法处理实时坐标的目的是为了灵活开发,你可以参考 修改模型位置 的方法,在模型应用实时坐标的同时,还可以实时修改模型的俯仰旋转翻转角、三维缩放数值、三维偏移量。
另外的,在本文示例中,如果发现模型方位角的旋转有问题,你可以通过修改关键代码中的 changeModelPos 方法中的 uniCore.animation.caluRealTimeRotate(axis, index) 尝试修正,比如增加90度:
js
uniCore.model.changeModelPos(carModel, resAxis, [uniCore.animation.caluRealTimeRotate(axis, index) + 90, 0, 0]);比如反转方向:
js
uniCore.model.changeModelPos(carModel, resAxis, [-uniCore.animation.caluRealTimeRotate(axis, index), 0, 0]);标签跟随事件
你还可以使用标签跟随模型进行更丰富的展示,调用代码示例如下:
调用代码示例
vue
<template>
<div id="unicoreContainer"></div>
</template>
<script>
import { UniCore } from 'unicore-sdk'
import { config } from 'unicore-sdk/unicore.config'
import 'unicore-sdk/Widgets/widgets.css'
export default {
// 生命周期 - 挂载完成(可以访问DOM元素)
mounted () {
this.init();
},
// 方法集合
methods: {
/**
* 通用图形引擎初始化
*/
init () {
// 初始化UniCore
// 目前采用Cesium的地形&底图数据,这里配置Cesium的token
let accessToken = "eyJhbGciOiJIUzI1NiIsInR5cCI6IkpXVCJ9.eyJqdGkiOiIxNjEwMzI4My01MjBmLTQzYzktOGZiMS0wMDRhZjE0N2IyMGIiLCJpZCI6MTc1NzkyLCJpYXQiOjE3MTM3NzQ3OTh9.zU-R4MNvHr8rvn1v28PQfDImyutnpPF2lmEgGeSPckQ";
// 初始化unicore
let uniCore = new UniCore(config, accessToken);
uniCore.init("unicoreContainer");
window.uniCore = uniCore;
// // 视角初始化
uniCore.position.buildingPosition(uniCore.viewer, [113.12380548015745, 28.250758831850005, 700], -20, -45, 1);
// 示例底面模型
let options = {
id: '城市白膜',
url: '../../../assets/3Dtiles/sample3_方法2_小别墅属性(1)/tileset.json'
}
//加载3dtiles
uniCore.model.createTileset(options.url, options).then(entity => {
uniCore.model.changeModelPos(entity, [113.12098820449636, 28.256150218457687, 35])
})
// 加入图片标签
let picID = '图片标签';
let picOptions = {
scale: 0.02, // default: 1.0
sizeInMeters: true,
}
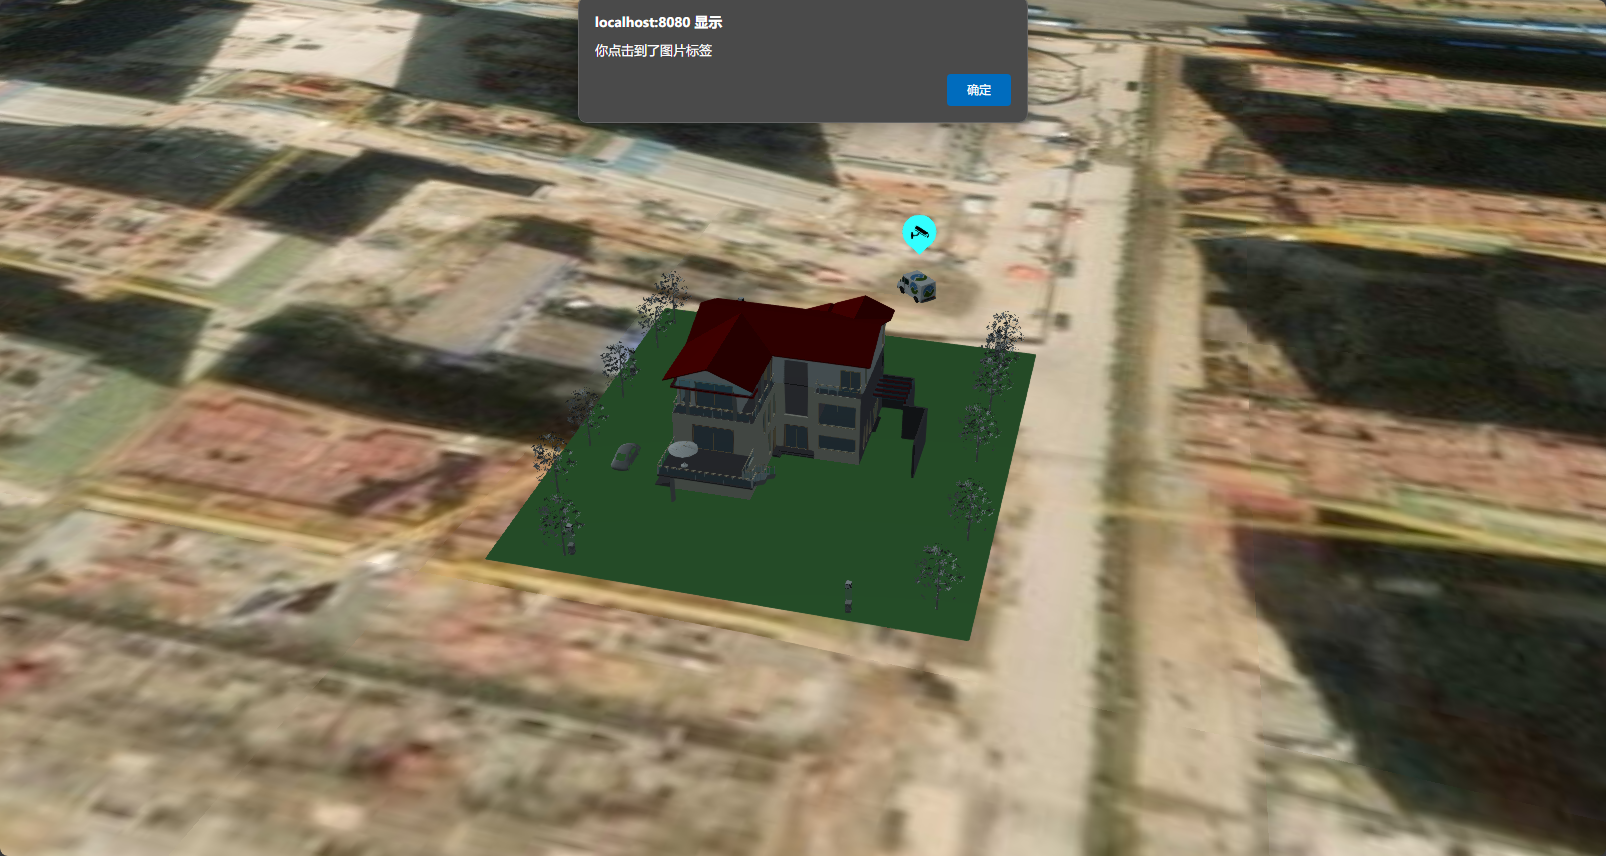
uniCore.tip.createImgTip(picID, "../static/img/tips/camera.png", [113.12248820449636, 28.254850218457687, 70], picOptions, () => { alert("你点击到了图片标签") })
// 获取图片标签entities
let picTip;
window.viewer.entities._entities._array.forEach(e => { if (e.id === picID) { picTip = e } });
// 使该模型运动
uniCore.model.addGltf({
lon: 0,
lat: 0,
height: 0
}, {
id: "车",
name: null,
url: '../../../assets/gltf/CesiumMilkTruck.glb',
property: null
}).then(carModel => {
let axis = [[113.12022464274082, 28.25619028746274], [113.12161934465712, 28.256137318482835], [113.12091905012934, 28.256699622636106], [113.1209893840498, 28.25591814354084]];
uniCore.animation.updatePosition(axis, (resAxis, index) => {
// 根据实时坐标修改路径和偏转角
uniCore.model.changeModelPos(carModel, resAxis, [uniCore.animation.caluRealTimeRotate(axis, index), 0, 0]);
// 图片标签跟随
picTip.position._value = uniCore.position.axis2cartesian3([resAxis[0], resAxis[1], resAxis[2] + 8])
}, () => { console.log("finish!") }, 5, 0.01, [carModel, picTip])
})
}
}
}
</script>
<style scoped>
#unicoreContainer {
position: absolute;
top: 0;
left: 0;
width: 100%;
height: 100%;
overflow: hidden;
background: black;
}
</style>效果展示
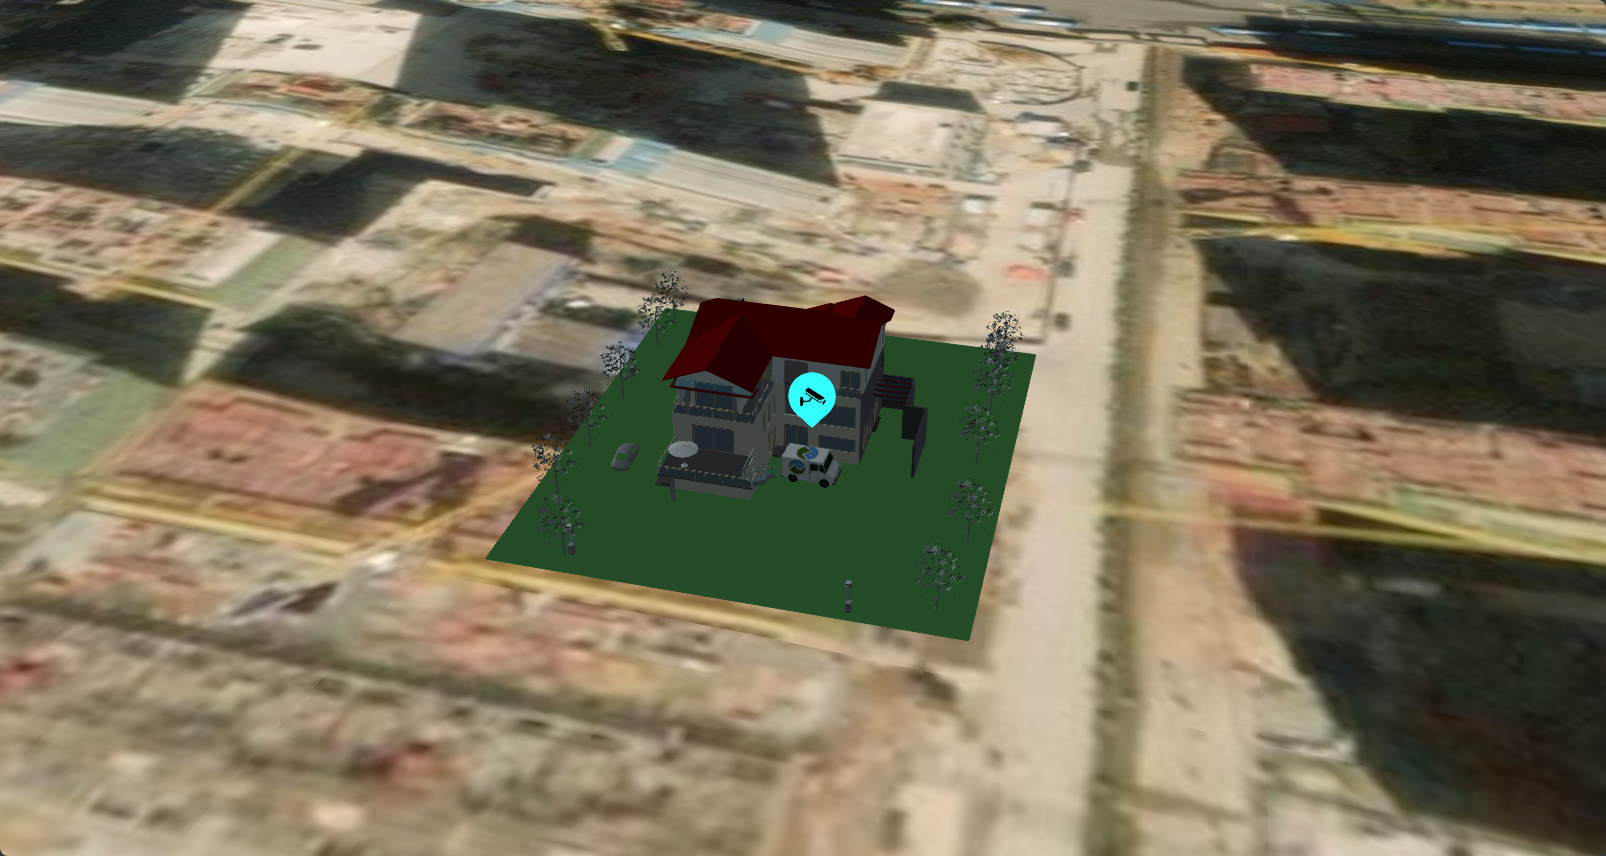
跟随:
点击事件:
关键代码
加入图片标签后,你需要获取图片标签的entity:
js
// 获取图片标签entities
let picTip;
window.viewer.entities._entities._array.forEach(e => { if (e.id === picID) { picTip = e } });
在模型移动时,将实时坐标赋值给图片标签:
js
// 图片标签跟随
picTip.position._value = uniCore.position.axis2cartesian3([resAxis[0], resAxis[1], resAxis[2] + 8])
记得在 exclude 处加入图片标签的 entity ,防止小车左脚踩右脚跟着标签一起升天。
js
[carModel, picTip]